Thinking about Pirates!

Timothy the pirate

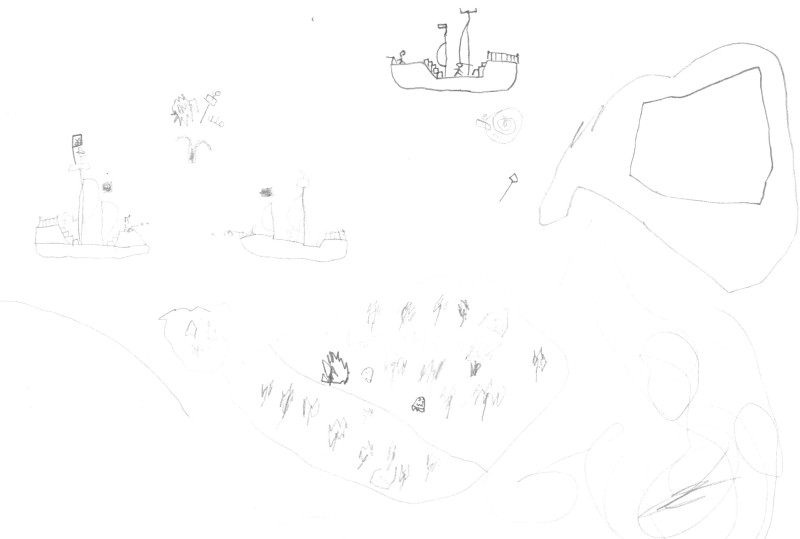
Timothy made a great picture of a pirate battle. As always, this drawing is in miniature and you may not be able to see everything. I am amazed at the detail he creates on such a small scale. There is a sinking ship, several islands, a whirlpool (I think!) and some fires. I feel pretty bad about the guy falling from what is left of his ship amidst some heavy fire and a huge splash.

Timothy pirate battle

Forever Friends

Daniel package 10 years old

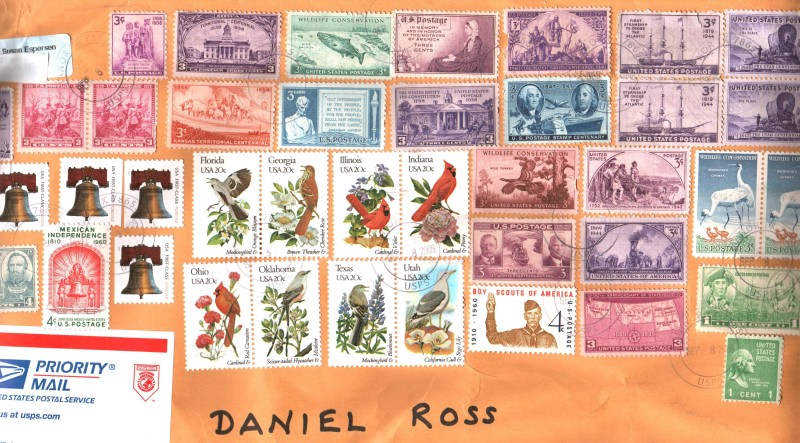
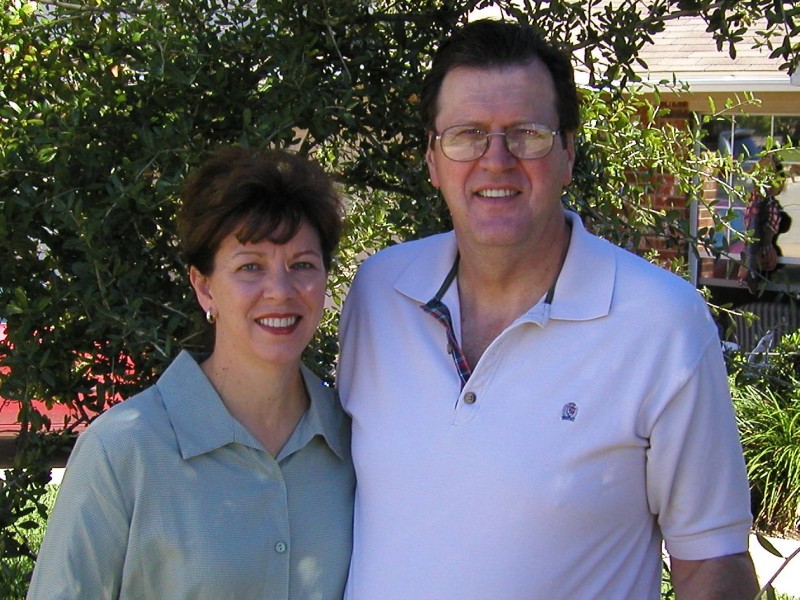
Daniel received this package in the mail this week. Inside was a newspaper from his birth date, almost 10 years ago. Our friends, the Espersens have been saving it for us in Austin all these years. Dave is quite the philatelist. (I’ve always wanted to use that word.) I have been staring at this package for a long time, enjoying the beautiful stamps and missing these dear friends.

Daniel has been lonely lately. His best friend moved away last month. I think that our Heavenly Father knows this little boy’s needs and has inspired so many good people to reach out to him. If you think about it, this kind act was put in motion 10 years ago and the timing is perfect. I sit back in wonder, and I’m reminded of the importance and power of love and small gestures of kindness and listening to those little ideas that come to our minds to do good. Who knows what a difference our small acts of kindness will make?
Espersens

The Espersens

ABBA Gold

1977 carrot

I listened to our new ABBA Greatest Hits CD all morning as I cleaned the house. When I was little, aside from having natural highlights in my hair (see above picture), I loved to dance to our ABBA  8-track in our front room on the gold shag carpet. I’d land on the floor and look up at the light fixture which had a golden circular screw which would reflect a tiny image of me. My memories of the seventies have a golden hue. It probably has something to do with the carpet, but I think it also has something to do with the happy childhood I had.

Ice Cream Tutorial

Nothing says good old American holiday weekend like homemade ice cream. Here’s a way to do it the old fashioned way. We did this for my science class on Friday. I’m posting pictures of our kids (the little cuties) making it 3 1/2 years ago in our rental house.
2006-02-18 Ice Cream Science Fair Project 001

You will need

  • 1 cup milk,
  • 1 cup whipping cream,
  • 1/2 tsp vanilla,
  • 1/2 c sugar,
  • 2 cups of rock salt,
  • 1/2-3/4 bag of  ice,
  • one #10 can with a lid,
  • one 30 oz. can with a lid (look in the coffee aisle).

2006-02-18 Ice Cream Science Fair Project 004

Mix the first four ingredients and pour into the small can.

2006-02-18 Ice Cream Science Fair Project 005

If you’re being scientific, you can measure the temperature of your mixture.

2006-02-18 Ice Cream Science Fair Project 009

Tape the small lid on the small can to prevent leaks. Place 1/2 cup of rock salt on the bottom of the BIG can and put a layer of ice down. Place the small can into the big can and pack more ice around it and on top of it, layering 1/2 c more rock salt with the ice. Place the lid on the big can, tape all around (to prevent leaks) and….

2006-02-18 Ice Cream Science Fair Project 011

Start rolling the can across the floor… and keep rolling…

2006-02-18 Ice Cream Science Fair Project 013

for 12 minutes.

2006-02-18 Ice Cream Science Fair Project 016

After 12 minutes, unpack the small can and stir the ice cream and take a temperature reading (if you’re being scientific). Work quickly.

2006-02-18 Ice Cream Science Fair Project 017

2006-02-18 Ice Cream Science Fair Project 018

Tape the small lid back into place. You’ll notice that the ice in the big can has melted a lot. This is because the heat from the cream has passed from the small can to the super-cooled  ice. (Rock salt lowers the freezing point of ice, making the ice colder than “freezing,” and this draws more heat from the cream mixture. It’s the heat from the cream that melts the ice as the liquid cream turns to ice cream.) You’ll need to discard the old ice and salt and repack the big can with 1/2 c rock salt on the bottom and more fresh ice and 1/2 c rock salt around the small can. Tape the big lid in place and get rolling again…

2006-02-18 Ice Cream Science Fair Project 020

Roll for 7 more minutes. Gloves are a good idea.

2006-02-18 Ice Cream Science Fair Project 025

By this time, anticipation will be high and many hands will want to help…

2006-02-18 Ice Cream Science Fair Project 026

You’ll have a nice creamy treat waiting for you in that little can.

2006-02-18 Ice Cream Science Fair Project 029

Science before dessert…

2006-02-18 Ice Cream Science Fair Project 032

All that hard work is worth it. Happy Labor Day!

Observatory

telescope diagram

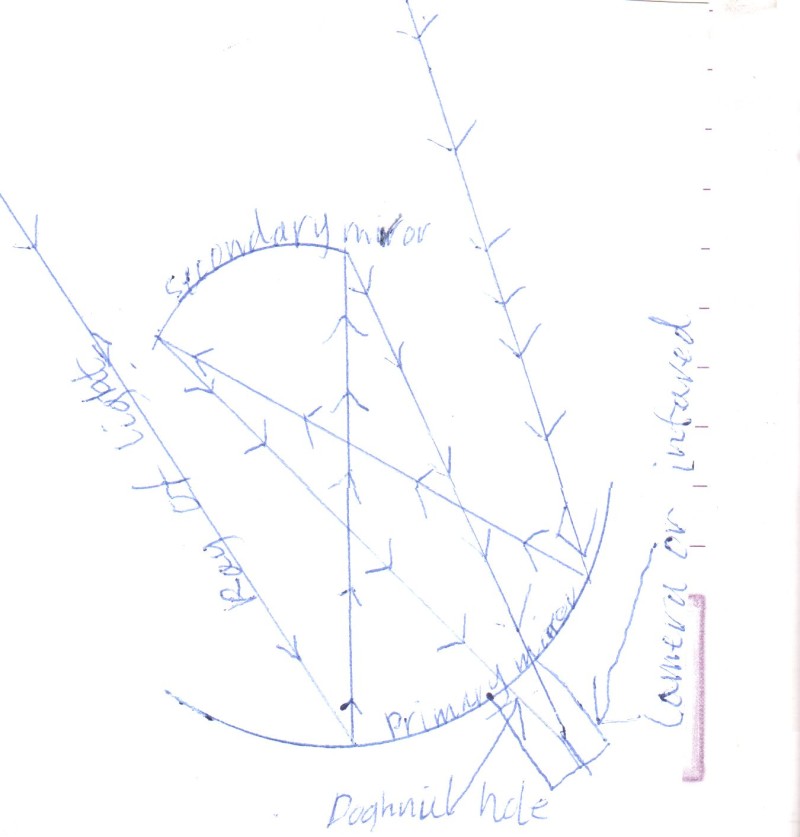
I like finding clues around the house showing me what my kids are thinking about. I found this diagram today of one of the telescopes Daniel saw at the Whipple Observatory on Friday. I thought the reflection patterns were pretty good, and it turns out, they are pretty accurate.

Did you know we don’t have street lights here so there is better star gazing for the observatories? Well, now you know. It’s a great place to stargaze. Now Daniel and Paige can say they have been to an observatory, thanks to a good friend who took them. They were up so high on the mountain that they saw Mexico. The whole building which houses the telescopes can rotate. Just thought you’d like to know…

Timothy's bird house

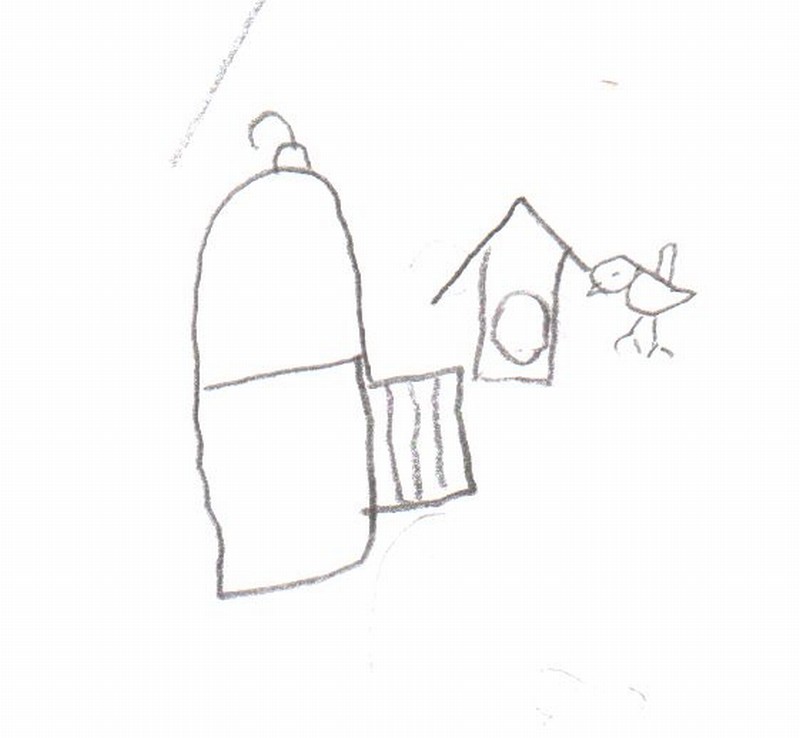
This is a drawing Timothy has made of the birdhouse he wants to get for our backyard. He has a birdcage that he’s filled with birdseed, hoping to catch a new pet.  In fact, the whole yard is littered with birdseed to attract future pets. He told me tonight that the bird could live in the birdhouse and then visit the birdcage now and then… it looks like he plans to leave the door open.

So, to wrap this all up in a neat metaphor, I’ll say that I’m grateful live in my own personal observatory and to be an observer of children.  I try sift through all the information and words and behaviors and see what my children are trying to communicate. With the help of the Lord, proper focus and care and timing, simple observations of behavior or words can give me greater insight into the  needs, hopes, and wishes of my children. A simple piece of paper, a forlorn sigh, a persistent wish or behavior… each a precious clue.

Wondershirts

4th of July shirts 003

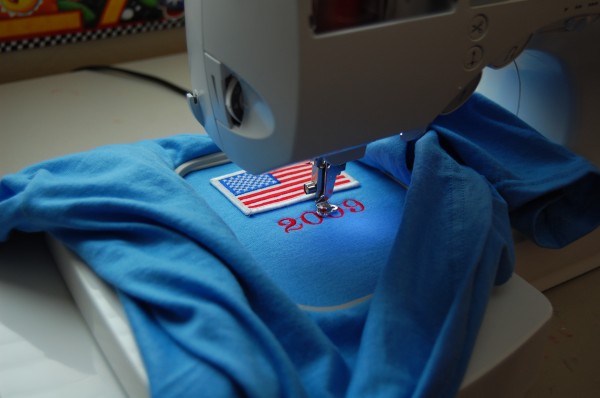
So, I have this embroidery machine that really makes me happy and Michael’s had t-shirts on sale for $2.50 so it was determined that we will have Embroidered Wondershirts for the 4th of July parade. (The parade, by the way, that we are driving 14 hours to see…and it had better just be “partly cloudy” as forecasted.)

4th of July shirts 007

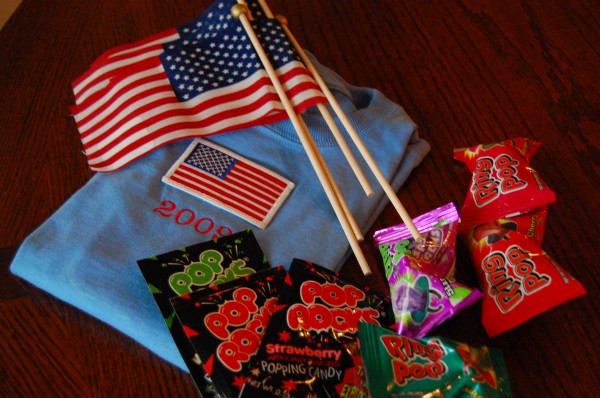
Luckily, Michael’s also had the essential Pop Rocks available, too. Ahh, the simple pleasures of July 4th traditions!

Flashlight tutorial

This is what we did on Wednesday afternoon at our house. It was so neat we had to share it. I got the idea from a Cub Scout Roundtable meeting.

flashlight assembly 007

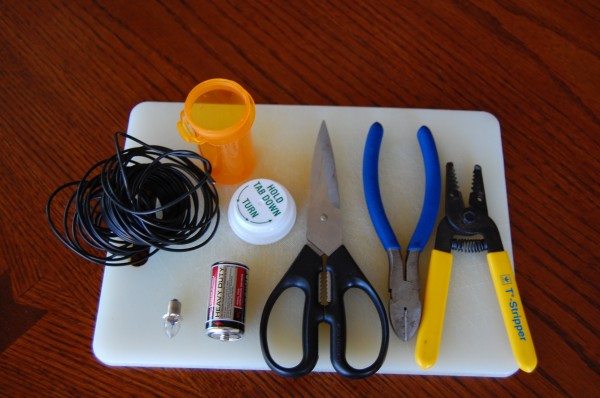
You will need this stuff plus some newspaper and electrical tape.

The tiny bulb is a flashlight bulb. Look in the camping aisle at your local camping store/Wal-Mart.

We used a C battery, but you could try another size. It’s science, so have fun.

flashlight assembly 008

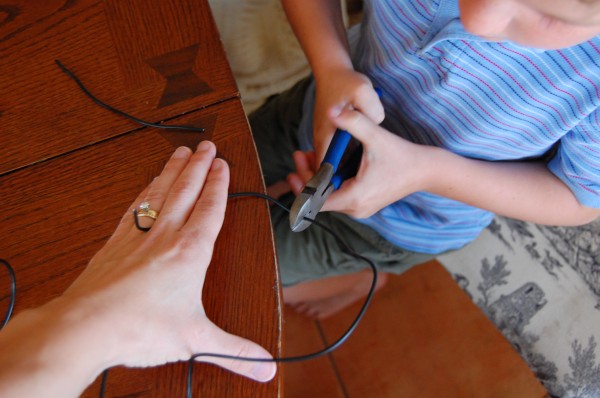
Cut a piece of electrical wire about 4 1/2 inches long.

flashlight assembly 011

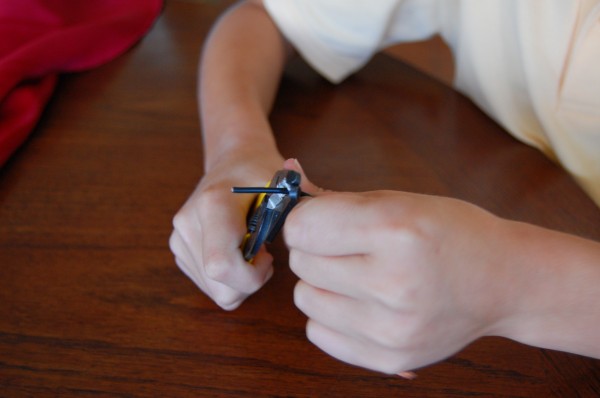
Strip each end of the wire.

flashlight assembly 012

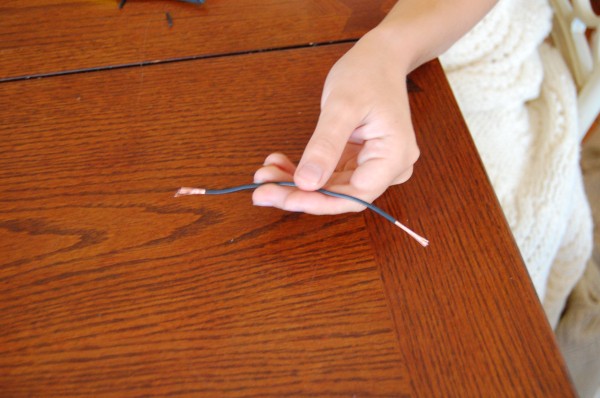
It will look like this.

flashlight assembly 013

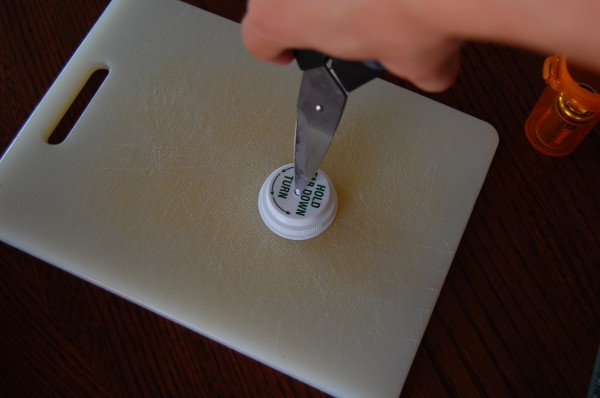
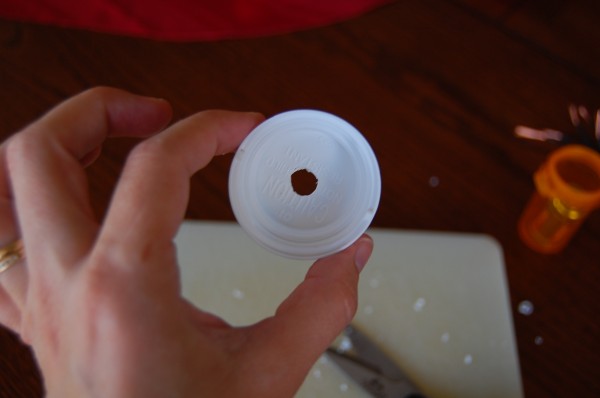
Using scissors or a drill, make a hole in the lid of the bottle. Be careful not to make it too big. You want the bulb to fit through it snugly.

flashlight assembly 014

It doesn’t have to be perfect.

flashlight assembly 042

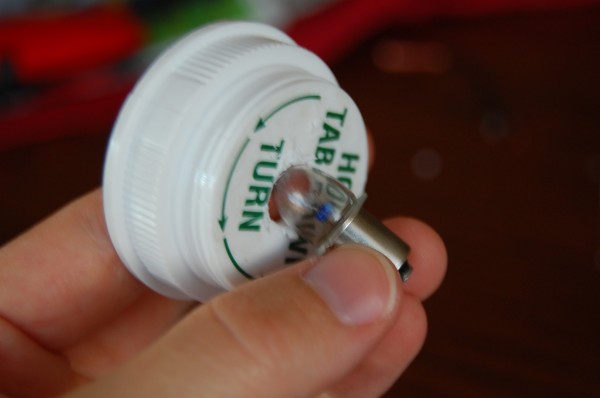
Slide the bulb through the hole.

flashlight assembly 019

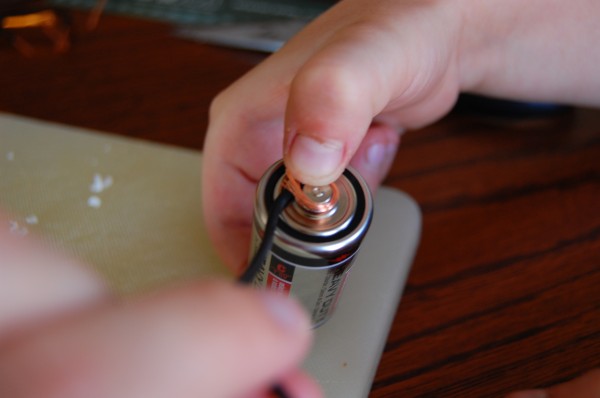
Wrap wire around the positive side of the battery. Actually, any end will do, but this seemed to be easier for us.

flashlight assembly 025

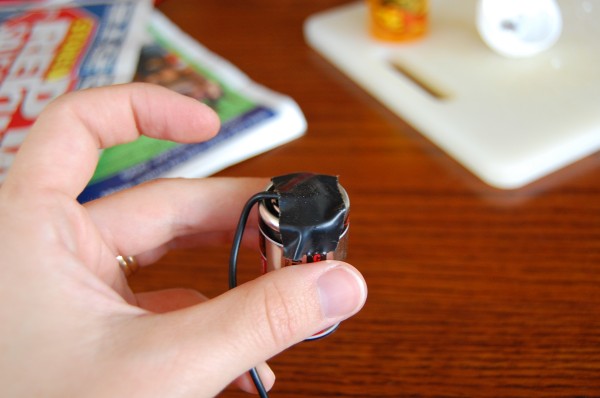
Tape into place.

flashlight assembly 026

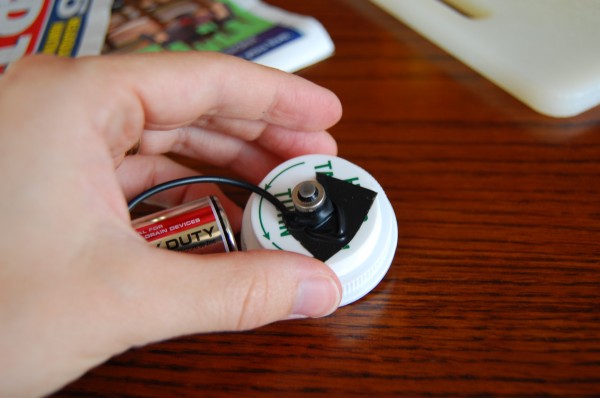
Wrap the other end of the wire around the end of the flashlight bulb.

flashlight assembly 027

Tape into place, keeping the end contact of the bulb exposed.

flashlight assembly 028

Your assembly will look like this.

flashlight assembly 021

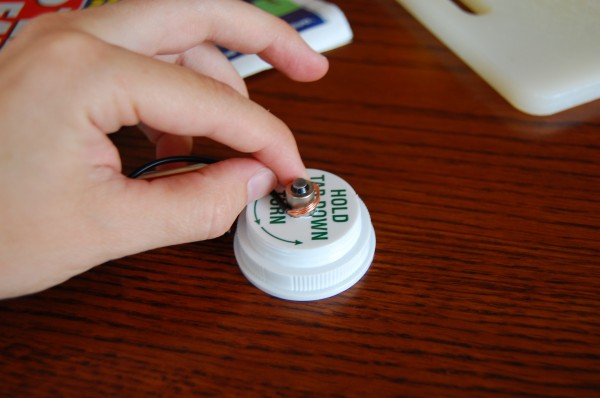
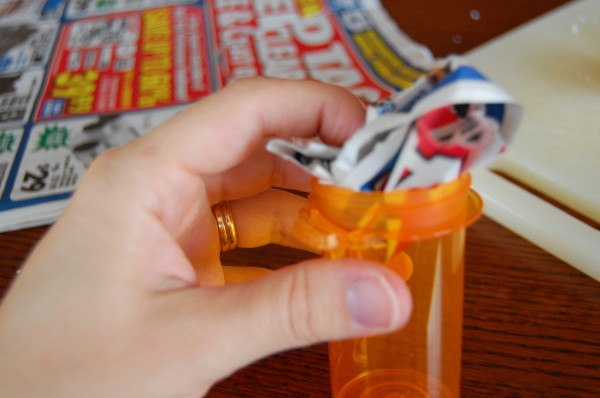
Place enough newspaper in the bottom of the pill container so the battery will touch the bulb when assembled.

flashlight assembly 029

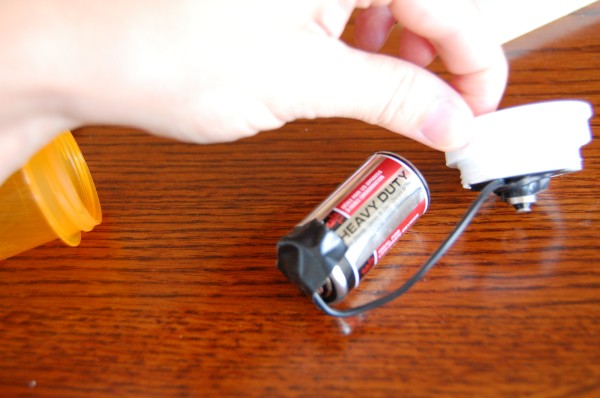
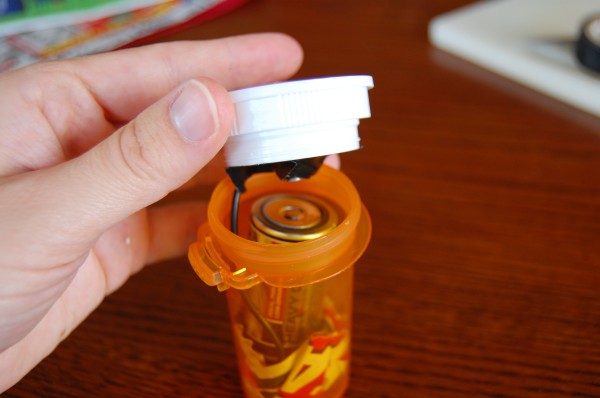
Insert battery & wire into the container. Screw the lid on (upside down).

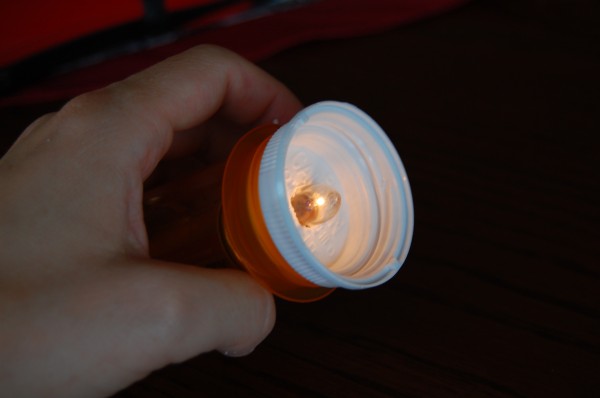
Once you touch the bulb to the battery, it should light up. If not, check your connections.

flashlight assembly 045

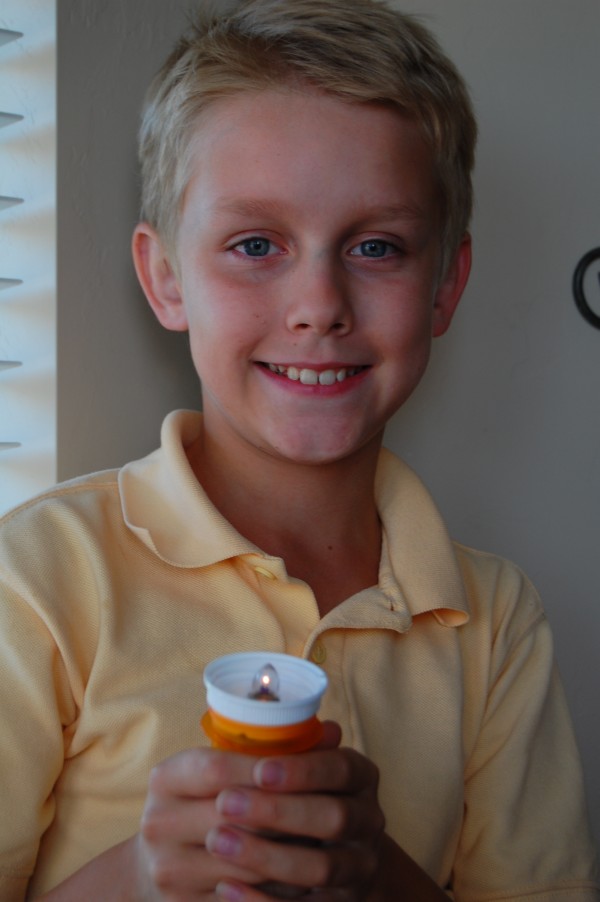
Go in a dark place and be amazed. You just made a flashlight!

flashlight assembly 033

Harmless Potato Pellets

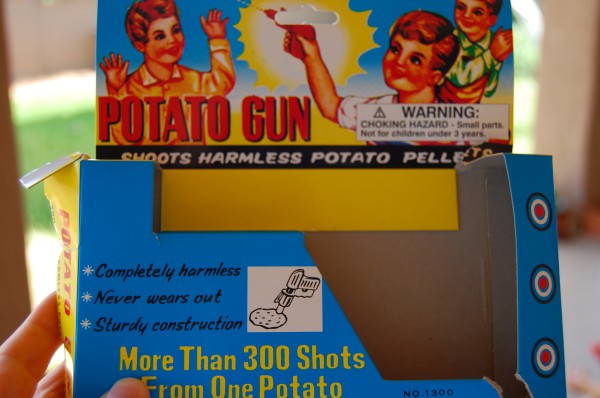
I had to go to town today. I left the kids strict instructions to keep the house clean while I was gone. They were good kids, so I pulled these out of the closet when I got home. I’ve been saving them for 6 months. Sometimes I just have to do something crazy like give my kids guns to keep our lives extraordinary. And yes, people, our lives are extraordinary. Just like yours.

potatoguns (4)

Happy retro packaging.

potatoguns (3)

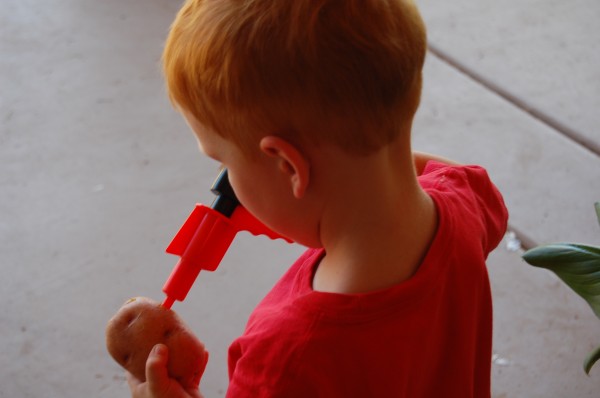
Simple, sturdy design.

potatoguns

Biodegradable pellets will nourish the lawn.

potato guns and summer fun 002

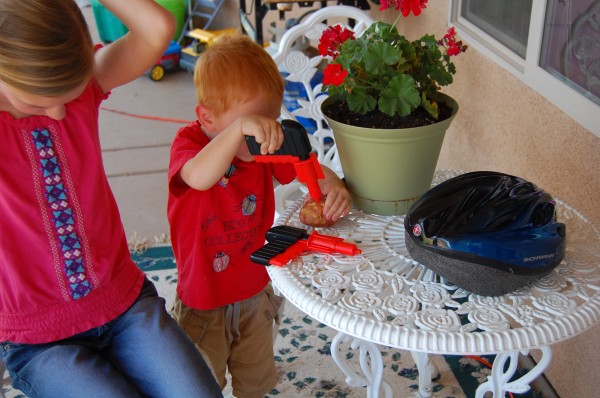
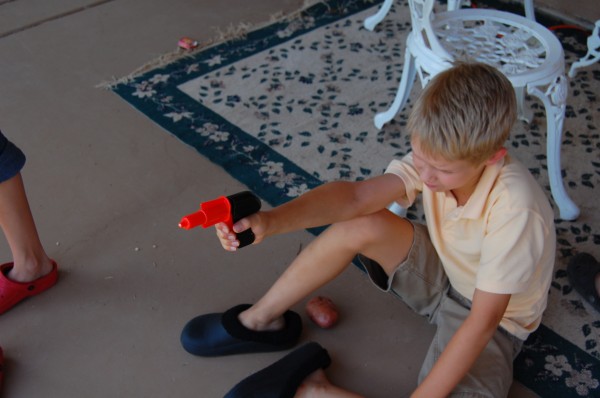
And, they make a charming “pop” when you shoot them.

I bought four and all were entertained.