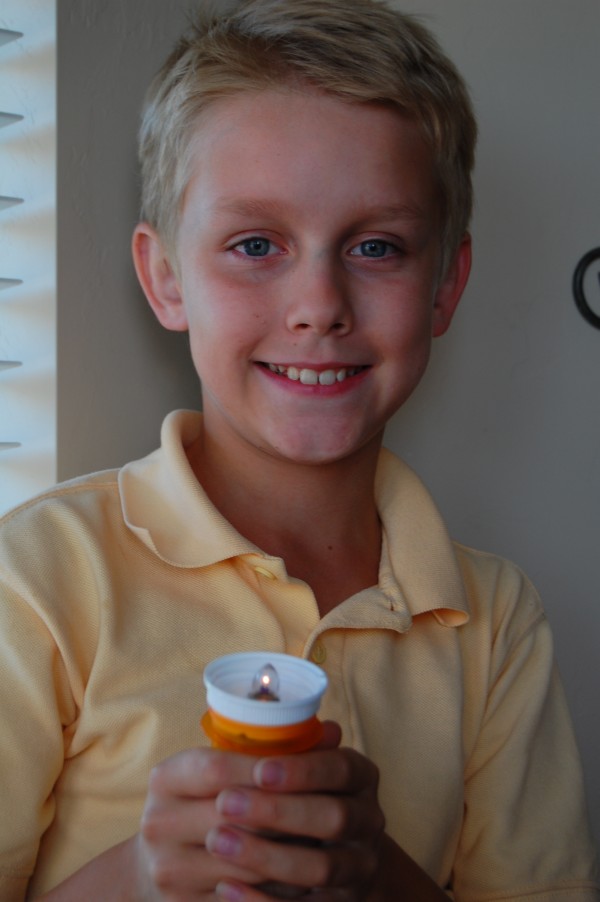
This is what we did on Wednesday afternoon at our house. It was so neat we had to share it. I got the idea from a Cub Scout Roundtable meeting.
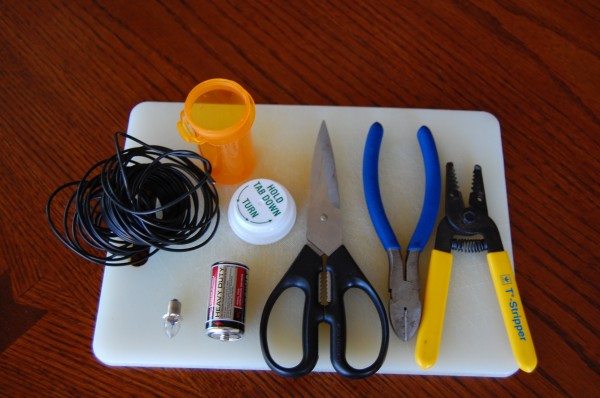
You will need this stuff plus some newspaper and electrical tape.
The tiny bulb is a flashlight bulb. Look in the camping aisle at your local camping store/Wal-Mart.
We used a C battery, but you could try another size. It’s science, so have fun.
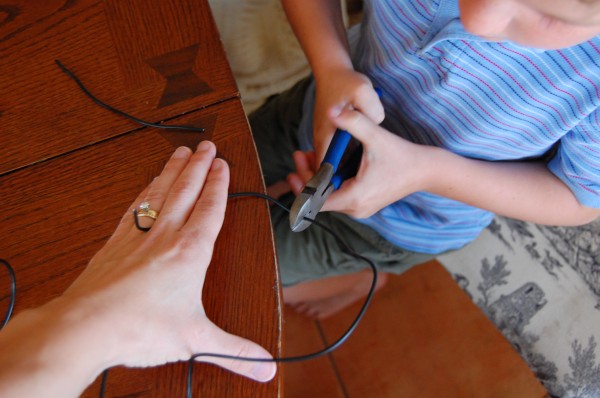
Cut a piece of electrical wire about 4 1/2 inches long.
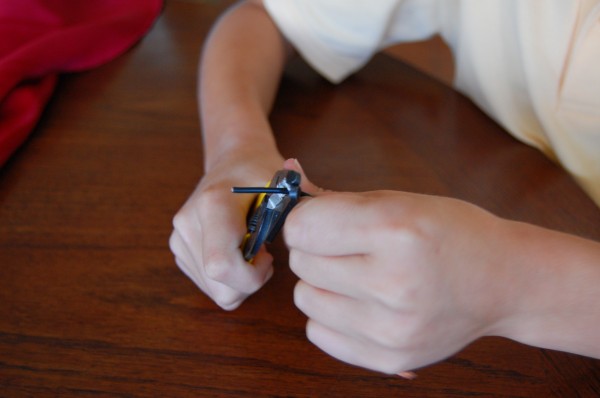
Strip each end of the wire.
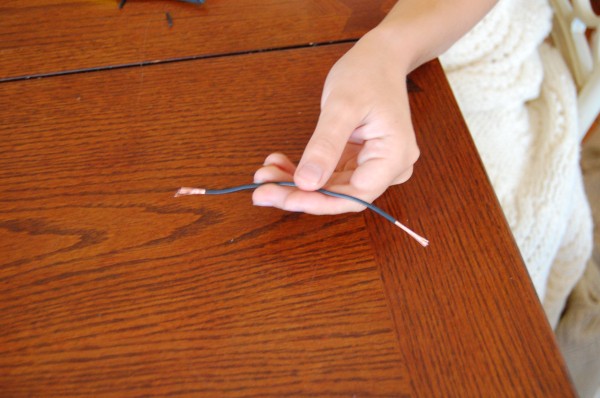
It will look like this.
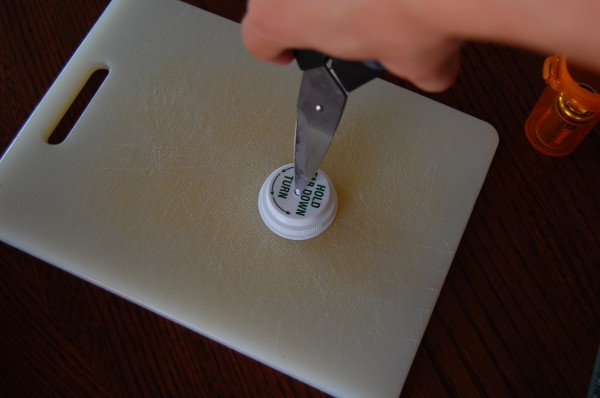
Using scissors or a drill, make a hole in the lid of the bottle. Be careful not to make it too big. You want the bulb to fit through it snugly.
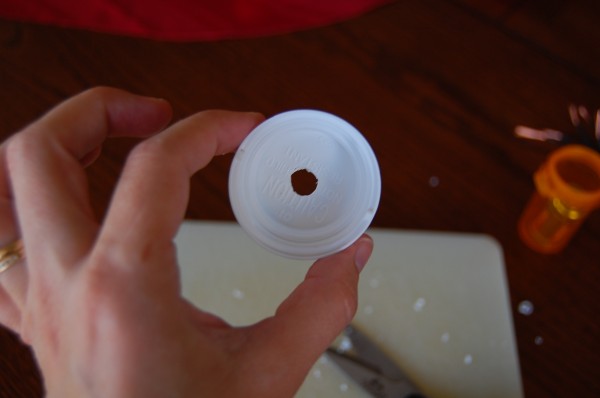
It doesn’t have to be perfect.
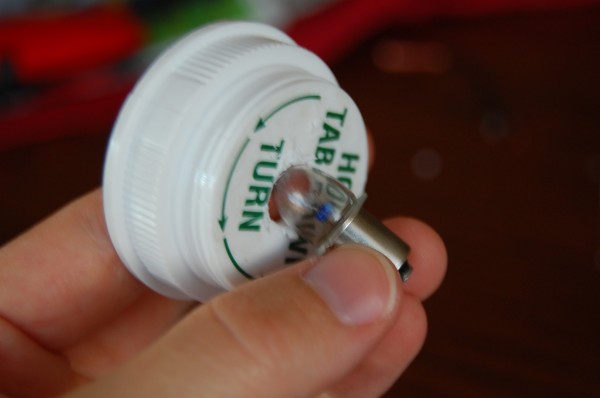
Slide the bulb through the hole.
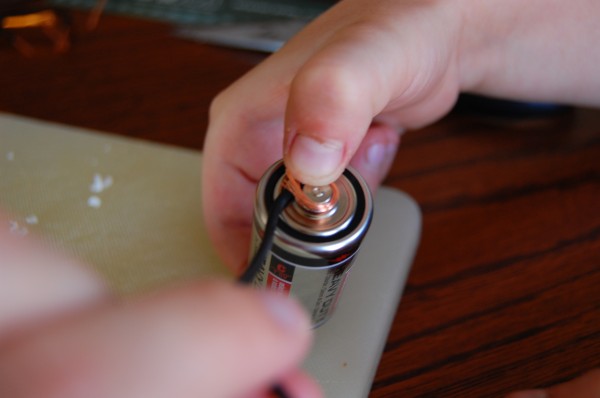
Wrap wire around the positive side of the battery. Actually, any end will do, but this seemed to be easier for us.
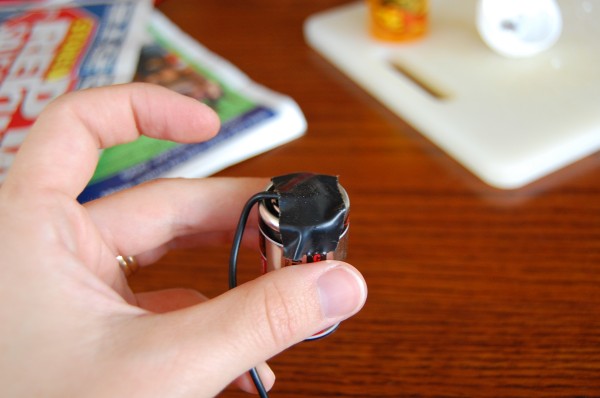
Tape into place.
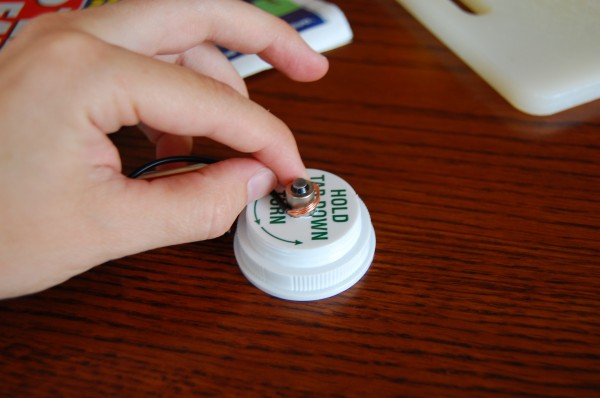
Wrap the other end of the wire around the end of the flashlight bulb.
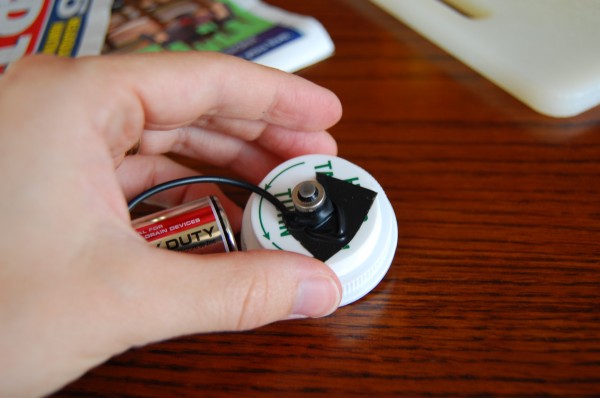
Tape into place, keeping the end contact of the bulb exposed.
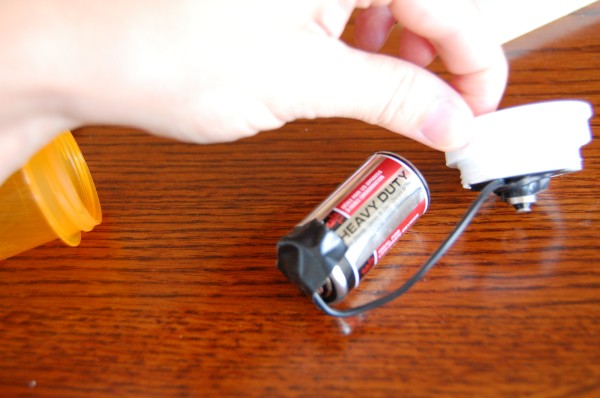
Your assembly will look like this.
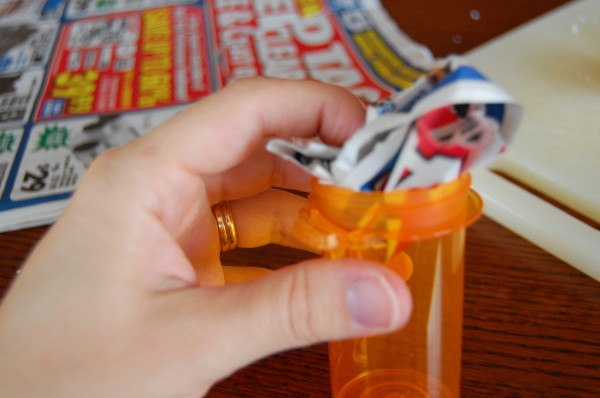
Place enough newspaper in the bottom of the pill container so the battery will touch the bulb when assembled.
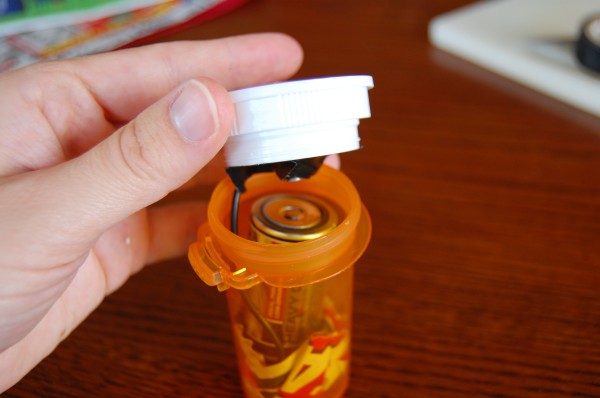
Insert battery & wire into the container. Screw the lid on (upside down).
Once you touch the bulb to the battery, it should light up. If not, check your connections.
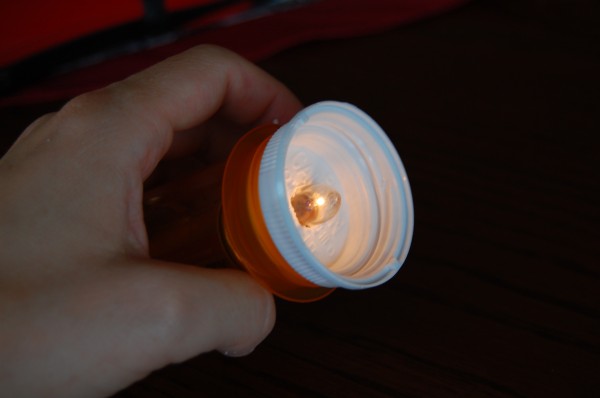
Go in a dark place and be amazed. You just made a flashlight!
